WinAFL使用记录
安装&使用说明
cmake
-G <generator-name>
指定构建系统生成器。

CMake可能在某些平台上支持多个本机构建系统。生成器负责生成特定的构建系统。可能的生成器名称在 cmake-generators(7) 手册。

如果未指定,CMake将检查 CMAKE_GENERATOR 环境变量,否则将退回到内置的默认选择。

-A <platform-name>
如果生成器支持,请指定平台名称。

一些CMake生成器支持将平台名称提供给本机构建系统以选择编译器或SDK。见 CMAKE_GENERATOR_PLATFORM 变量以获取详细信息。
下载 WINAFL:https://github.com/googleprojectzero/winafl
下载DynamoRIO:https://github.com/DynamoRIO/dynamorio/releases
下载后把二者解压到同一文件夹下,如 Fuzzing,手动编译 x64环境
I:\\Fuzzing>cd winafl
I:\\Fuzzing\\winafl>mkdir build64
I:\\Fuzzing\\winafl>cd build64

if VS2022
cmake -G "Visual Studio 17 2022" -A x64 .. -DDynamoRIO_DIR=D:\\fuzzing\\DynamoRIO\\cmake -DUSE_COLOR=1
cmake --build . --config Release

if VS2019
cmake -G"Visual Studio 16 2019" -A x64 .. -DDynamoRIO_DIR=I:\\Fuzzing\\dynamorio\\cmake
cmake --build . --config Release

if VS2017
cmake -G"Visual Studio 15 2017" -A x64 .. -DDynamoRIO_DIR=I:\\Fuzzing\\dynamorio\\cmake
cmake --build . --config Release

x86
cmake -G "Visual Studio 17 2022" -A Win32 .. -DDynamoRIO_DIR=D:\\fuzzing\\DynamoRIO\\cmake -DUSE_COLOR=1
cmake --build . --config Release
DynamoRIO
https://github.com/googleprojectzero/winafl/blob/master/readme_dr.md
https://dynamorio.org/page_deploy.html >>>How to run
https://dynamorio.org/API_samples.html >>>sample解释
bin32/drrun.exe -c samples/bin32/bbsize.dll -- notepad  #用bbsize这个client去运行notepad
#当使用 -c 参数设置客户端时,客户端路径和双破折号之间的所有参数都将传递给客户端。
#当使用 -client 参数进行 drrun 时,将 -client 之后的第三个参数传递给客户端。
#例如,所有这些 drrun 调用都将“-op1 -op2“带空格的值””传递给客户端:
bin32/drrun.exe -c libmyclient.dll -op1 -op2 \\"value with spaces\\" -- notepad
// 1. 后面跟 <客户端> <客户端 参数> —(分割线) <目标程序 和 目标程序参数>
-c <client> [client options] — <app and args to run>
// 2.1 winafl.dll 参数说明。这也是插桩参数的使用[instrumentation options]
-debug # debug模式, 它会生成一个log文件
-target_module # 目标程序(只能有一个), 也是target_offset所在的模块
-target_offset # 目标程序偏移,相对于target_module的偏移,在method无法导出的时候使用
-fuzz_iterations # 目标程序重新启动一次内运行目标函数(即target_method)的最大迭代数
-nargs # 目标程序执行所需要的参数个数(包括目标程序本身)
-target_module # 目标函数,需要export或者调试符号(pdb)
-coverage_module # 计算覆盖率的模块,也就是目标程序会调用的模块(dll); (可以有多个)
-call_convention - The default calling convention is cdecl on 32-bit x86
                     platforms and Microsoft x64 for Visual Studio 64-bit
                     applications. Possible values:
                         * fastcall: fastcall
                         * ms64: Microsoft x64 (Visual Studio)
                         * stdcall: cdecl or stdcall
                         * thiscall: thiscall
WinAFL
-i dir        - input directory with test cases
-o dir        - output directory for fuzzer findings
-t msec       - timeout for each run
-D dir        - directory containing DynamoRIO binaries (drrun, drconfig)
-P            - use Intel PT tracing mode
-Y            - enable the static instrumentation mode
-f file       - location read by the fuzzed program
-m limit      - memory limit for the target process
-p            - persist DynamoRIO cache across target process restarts
-c cpu        - the CPU to run the fuzzed program
-d            - quick & dirty mode (skips deterministic steps)
-n            - fuzz without instrumentation (dumb mode)
-x dir        - optional fuzzer dictionary
-I msec       - timeout for process initialization and first run
-T text       - text banner to show on the screen
-M \\\\ -S id   - distributed mode
-C            - crash exploration mode (the peruvian rabbit thing)
-l path       - a path to user-defined DLL for custom test cases processing
测试DynamoRIO是否插桩成功
WinAFL的32位编译目录下
>>D:\\fuzzing\\DynamoRIO\\bin32\\drrun.exe -c .\\winafl.dll -debug -target_module .\\test_gdiplus.exe -target_method main -fuzz_iterations 10 -nargs 2 -- .\\test_gdiplus.exe .\\sample.bmp
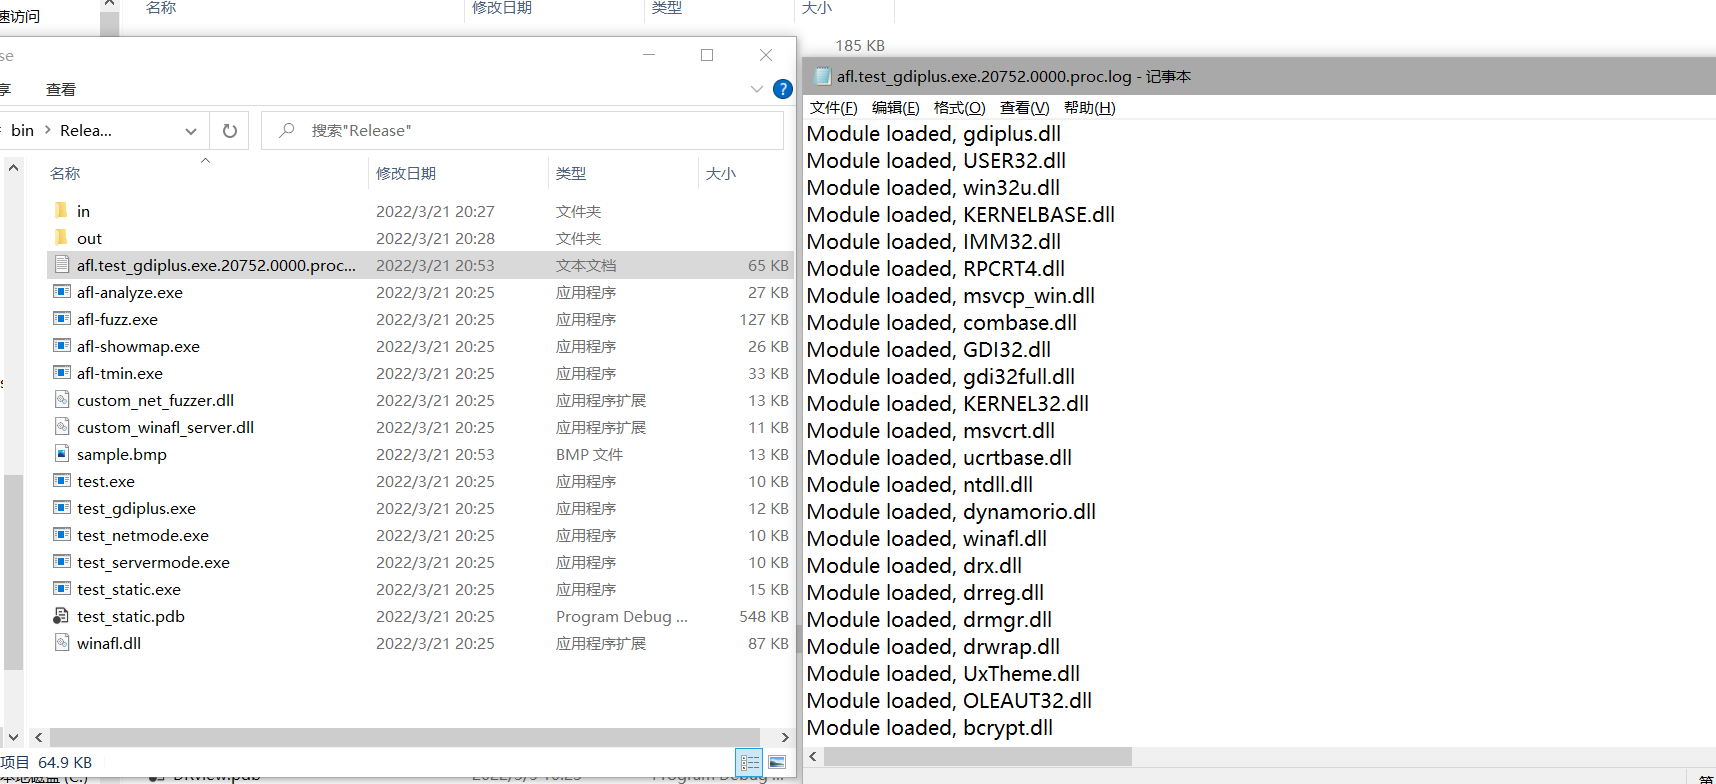
成功插桩
PS:若是没有目标程序的符号信息,需要将target_offset 替换掉 target_method
找到一个函数来fuzzing
在windows平台下做fuzzing一般都没有源码,所以不能直接插桩,一般都需要逆向的方式来找到一个函数或者DLL,然后编写harness对这个函数和接口进行模糊测试,目前有这四种办法
-
静态分析
-
代码覆盖率分析
-
通过DynamoRIO获得覆盖率(例如,ACDSee)
drrun.exe -t drcov — “..\\ACDSee Free.exe” a.bmp -
使用lighthouse IDA插件加速静态分析,找到最适合Fuzz的函数
-
-
Process Monitor(显示实时文件系统以及文件过滤器和堆栈跟踪 )
-
调试然后用脚本保存/恢复函数执行的上下文
-
逆向
逆向被证明是检测哪个函数最适合进行模糊测试的最有效方法
乱乱写
Windows平台下咋写harness
首先想办法跑通直接调用命令行解析数据→造成了崩溃以后→挂调试器看哪个DLL→逆向接口然后去写harness
存在一些问题:字符串在OD中能搜索到,IDA中搜索不到
优化Fuzzing过程
Patch程序
在程序代码中,一般等待用户输入的地方会是一个While循环,因此我们可以向这个思路方向寻找,找一个循环里的函数然后将他Patch为ExitProcess(0),这样程序在解析完文件之后就会自动退出程序
监控CPU占用
监控该程序进程占用,低则为解析完成,kill掉
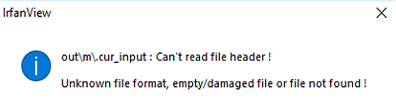
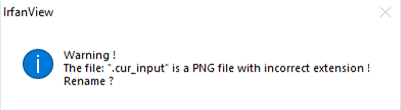
实例:Irfanview
命令行Fuzzing
先调试
D:\\fuzzing\\DynamoRIO\\bin32\\drrun.exe -c .\\winafl.dll -debug -target_module i_view32.exe -target_offset 0x85130 -fuzz_iterations 10 -nargs 3 -- D:\\Software\\fuzz\\IrfanView\\i_view32.exe -f .\\1.png
正常,然后Fuzzing
.\\afl-fuzz.exe -o out -i in -t 10000+ -D D:\\fuzzing\\DynamoRIO\\bin32 -- -target_offset 0x85130 -target_module i_view32.exe -coverage_module i_view32.exe -fuzz_iterations 5000 -- D:\\Software\\fuzz\\IrfanView\\i_view32.exe -f "@@" /cmdexit
问题
参数加f
修改代码
Process Monitor需要重新配置符号
https://www.xitalogy.com/windows-internals/2019/08/14/windows-internals-how-to-configure-symbols-in-sysinternals-process-explorer.html
DLL Fuzzing
先用ProcessMonitor先看一下调用栈,有JPEG2000.dll
Windbg挂在IrfanView
0:004> sxe ld jpeg2000
0:004> bm /a jpeg2000!*
No matching code symbols found, no breakpoints set.
0:004> g
ModLoad: 782e0000 78376000   D:\\Software\\fuzz\\IrfanView\\Plugins\\JPEG2000.DLL
eax=00000000 ebx=00800000 ecx=00000000 edx=00000000 esi=007f0f20 edi=007f5310
eip=779d2c3c esp=001979bc ebp=00197a10 iopl=0         nv up ei pl nz na po nc
cs=0023  ss=002b  ds=002b  es=002b  fs=0053  gs=002b             efl=00000202
ntdll!NtMapViewOfSection+0xc:
779d2c3c c22800          ret     28h
0:000> bm /a jpeg2000!*
*** WARNING: Unable to verify checksum for D:\\Software\\fuzz\\IrfanView\\Plugins\\JPEG2000.DLL
  1: 782e1ed0          @!"JPEG2000!SaveJPG2000_W"
  2: 782e2dc0          @!"JPEG2000!ReadJPG2000_W"
  3: 782e46b0          @!"JPEG2000!GetPlugInInfo"
  4: 782e4b00          @!"JPEG2000!ShowPlugInSaveOptions_W"
0:000> g
Breakpoint 2 hit
eax=782e2dc0 ebx=00000000 ecx=005ae2c0 edx=00000000 esi=0019810c edi=00197e8a
eip=782e2dc0 esp=00197e4c ebp=00198e24 iopl=0         nv up ei pl nz na pe nc
cs=0023  ss=002b  ds=002b  es=002b  fs=0053  gs=002b             efl=00000206
JPEG2000!ReadJPG2000_W:
782e2dc0 55              push    ebp
Harness
#define _CRT_SECURE_NO_WARNINGS
#include <windows.h>
#include <stdio.h>
//int a1@<edi>, wchar_t *FileName, int a3, _OWORD *a4, int a5, int a6, int a7)
extern "C" __declspec(dllexport) void fuzzme(wchar_t* filename);
typedef DWORD(WINAPIV* ReadJPG2000_W)(wchar_t*, int, LPCWSTR, wchar_t*, DWORD*, DWORD*);

ReadJPG2000_W ReadJPG2000_W_handle;
int a2 = 0;
wchar_t buffer[2048] = { 0 };
wchar_t buffer2[2048] = { 0 };

DWORD a3 = 0, a4 = 0;
__declspec(noinline)void fuzzme(wchar_t* filename) {
    ReadJPG2000_W_handle(filename, a2, buffer, buffer2, &a3, &a4);
}
int wmain(int argc, wchar_t** argv) {

    if (argc != 2) {
        printf("Usage: %ws <*.jpeg2000>\\n", argv[0]);
        return 0;
    }
    HMODULE jpg2000 = LoadLibraryA("JPEG2000.dll");
    if (jpg2000 == NULL) {
        printf("LoadLibraryA failed");
        return 0;
    }
    ReadJPG2000_W_handle = (ReadJPG2000_W)GetProcAddress(jpg2000, "ReadJPG2000_W");
    wcsncpy(buffer2, L"None", 1024);
    fuzzme(argv[1]);
    //FreeLibrary(jpg2000);
    return 0;
}
实例:FoxitReader
思路
- Process Monitor查看FoixtReader将图片转换成pdf调用的DLL文件ConvertToPDF_x86.dll
- 利用IDA查看ConvertToPDF_x86.dll的导出表(外部函数可以调用的函数)
- 利用Windbg给ConvertToPDF_x86.dll下断点,看转换操作中调用的dll文件的函数
- IDA分析这个函数,然后编写代码调用ConvertToPDF_x86.dll中的这个函数
- 调试修改将该代码修改成为harness
问题
WARNING: Target function was never called. Incorrect target_offset?
1.就是偏移量确实错了
2.参照的https://github.com/googleprojectzero/winafl/issues/302
不应该在 -target_module 和 -coverage_module 标志中使用路径,例如,-target_module test.exe而不是-target_module .\\test.exe. 我之前关于路径的评论是指更改目标命令行中的路径,而不是检测标志。
零零散散的一些笔记
**导出函数:**其他函数可以调用的函数
harness一些类型替换
大的int→DWORD*
小的具体值int→int
小的具体字符串→wchar_t*
大的字符串→LPCWSTR